Listings Manager Walkthrough Guide
Last updated: January 14, 2026
Manage your listings in your Avenue Account
Welcome to Listings Manager 🏠
With this tool, you’ll have full control over your listings, including:
The ability to create new listings from scratch for exclusive listings, commercial listings, rentals, new builds and more!
Keeping the status' of your listings up to date.
NOTE: your board does not provide third-party companies this information so this tool allows you to keep it up to date.
Adding virtual tours, floor plans, brochures, and open houses to your listings.
Customize which listings are shared on social media as well as your Facebook listing post captions, if you are part of our Grow or Accelerate packages.
Go to Listings Manager
And follow along below for the how-to guide
Or check out this video for a full walk through:
Where to find Listings Manager
Navigate to the left hand side of your Account under Services.
Click Listing Manager to reach the overview page where you can start managing your listings.
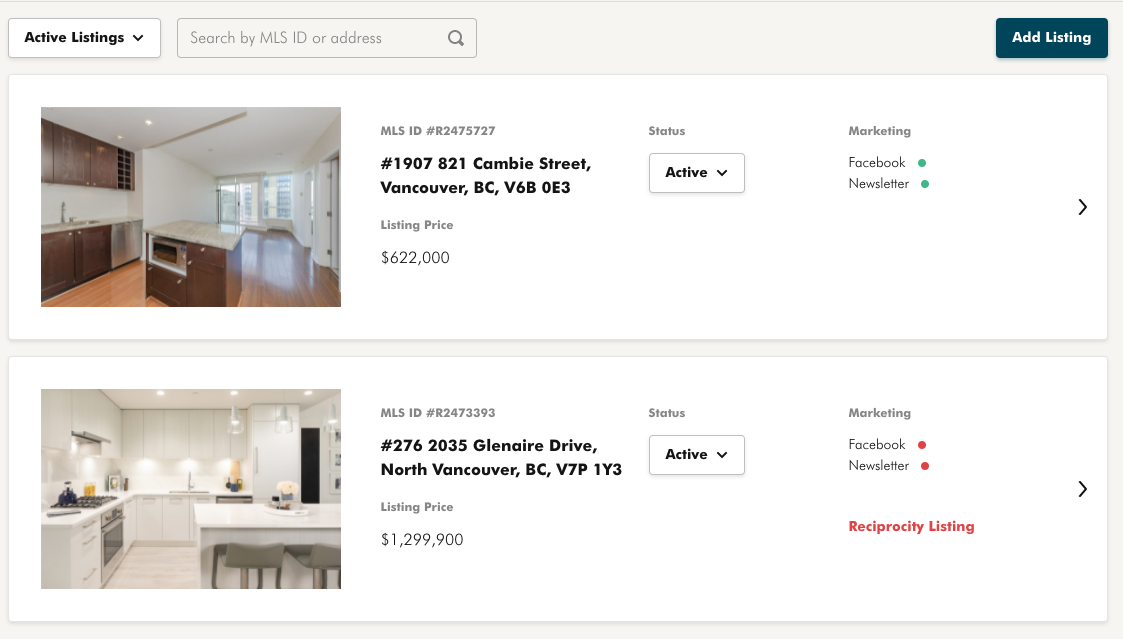
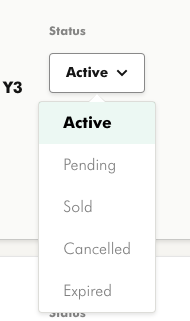
How to update the status of your listing
Use the drop down in the top left corner to toggle between listing status types:
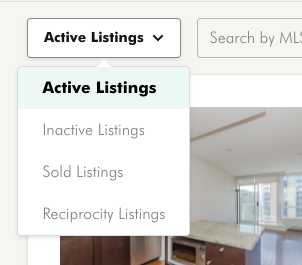
Active Listings
All active residential listings attached to your realtor ID.
Inactive Listings
When the status of a listing changes we are notified by MLS that the status has changed but we are not notified of what that new status is. We keep these listings here to let you know that they need to be updated.
Sold Listings
View and manage your sold listings from this section.
Reciprocity Listings
You can view all active and sold reciprocity listings from this section.
How to search for listings
You can use the search function next to the listings status toggle to quickly find one of your listings. Simply type the MLS ID or the address of the listing you are searching and press enter.

There are two different ways you can update your listings' status: through the overview page and through the full listing details page.
On the overview page, click the status button in the middle of the page to update your listings statuses quickly.
How to create a new listing from scratch
The ability to new listings from scratch works great non-residential listings, or for off market listings. Some examples include exclusive listings, commercial listings, rentals, new builds and more!
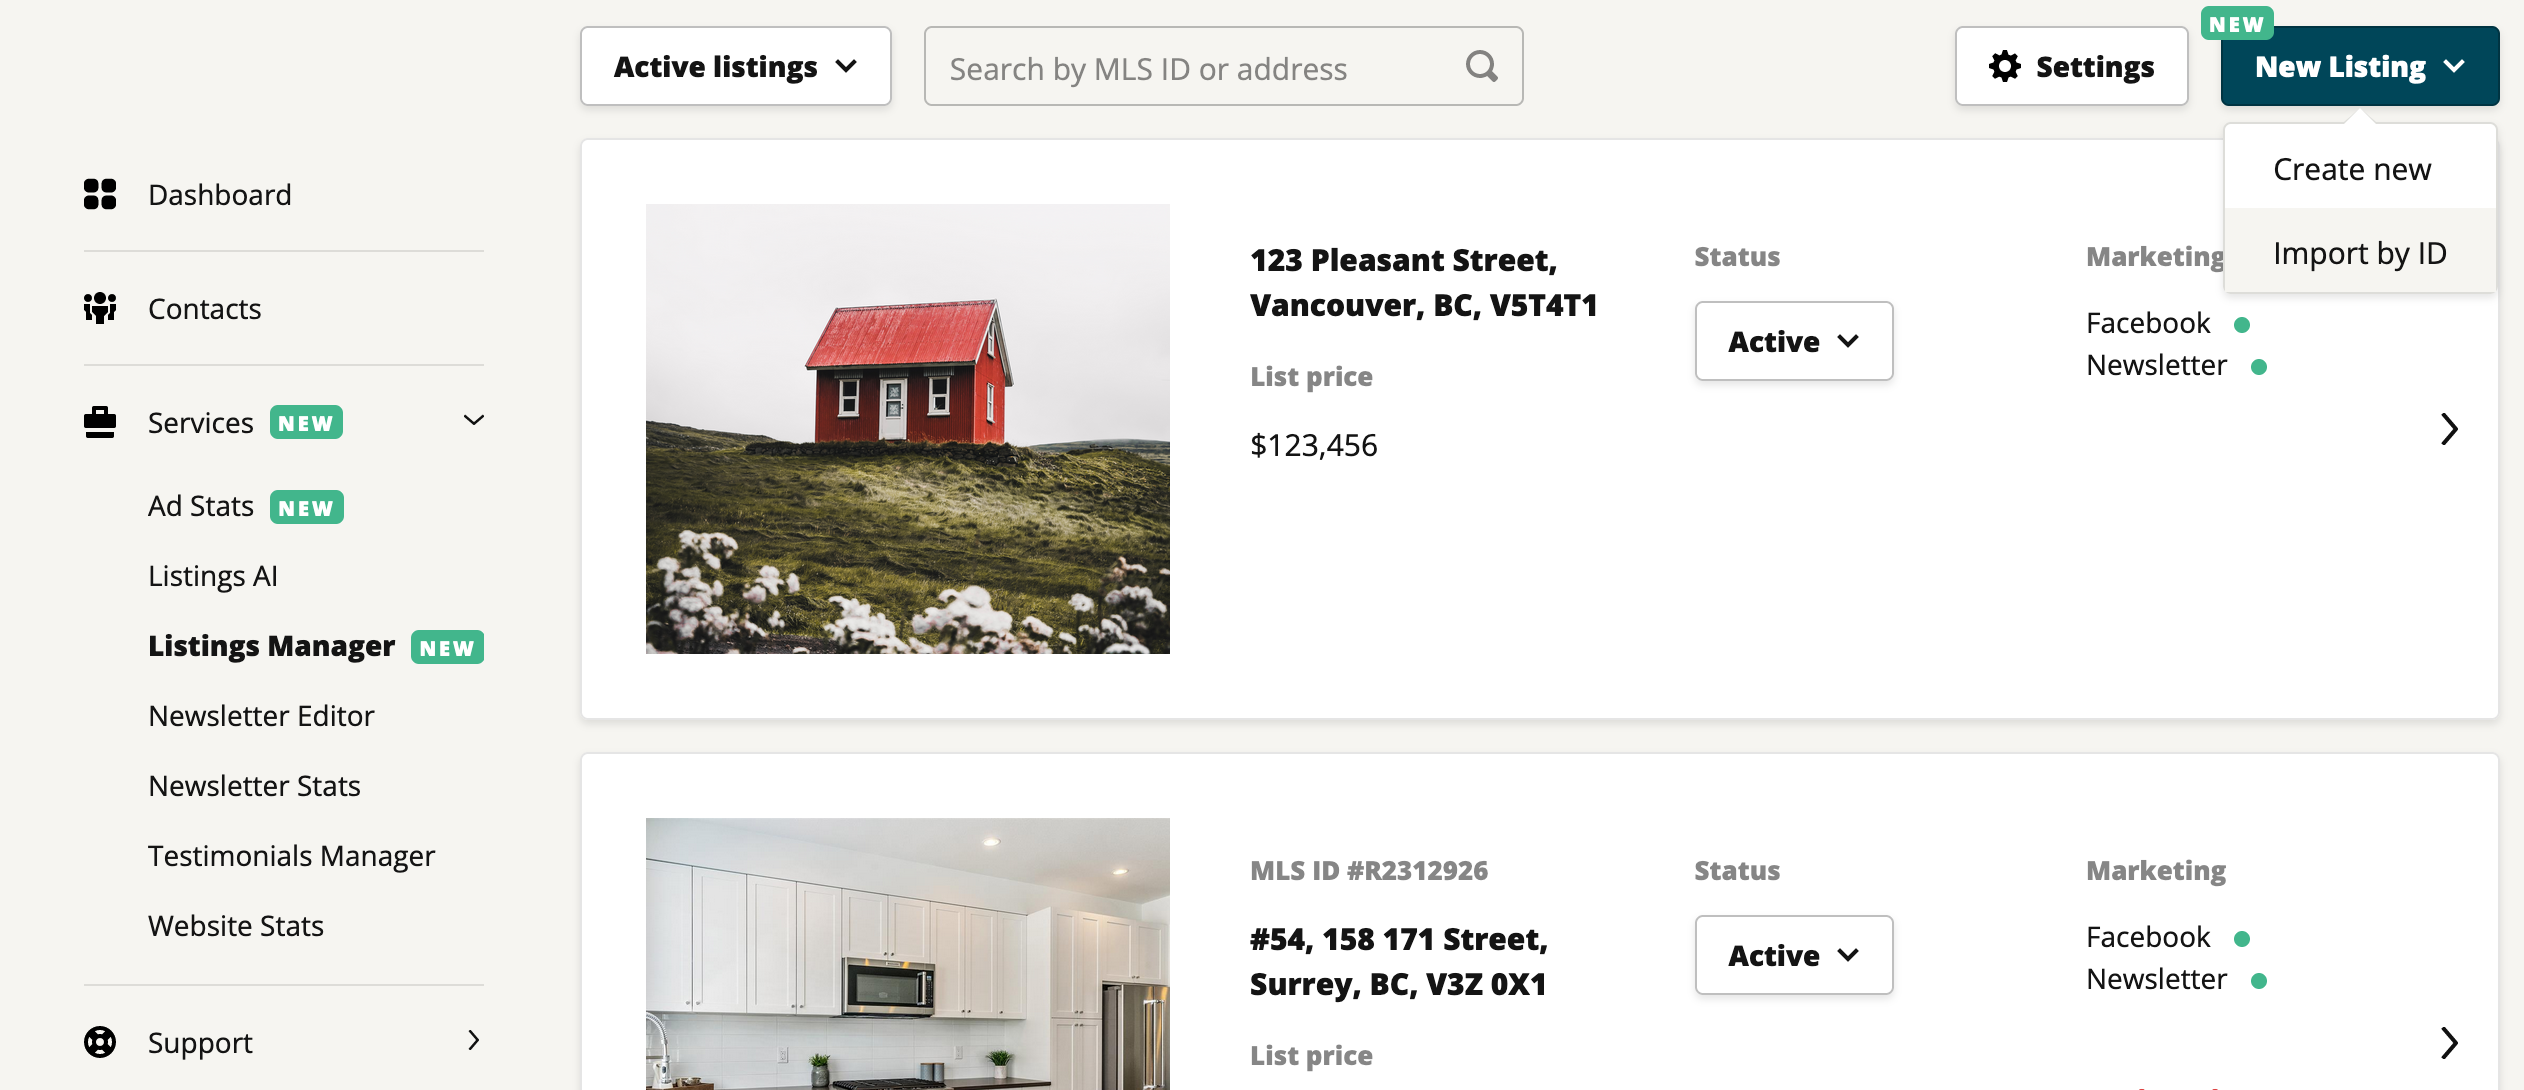
From the Listings Manager, start by clicking on New Listing in the top right corner. Select "Create New" from the dropdown menu.
Import any photos you'd like from your device. Then, add your listing details! Be sure to check out the AI tools to help write your listing description. You can also add open houses, virtual tours, floor plans, brochures, and custom listing banner.
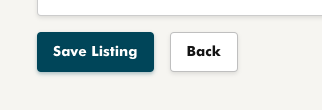
Be sure to hit Save Listing when you're done, and voila! Your listing will now be up on your website.
Note that your custom listings will not be linked to your feed, so they will need to be updated manually.
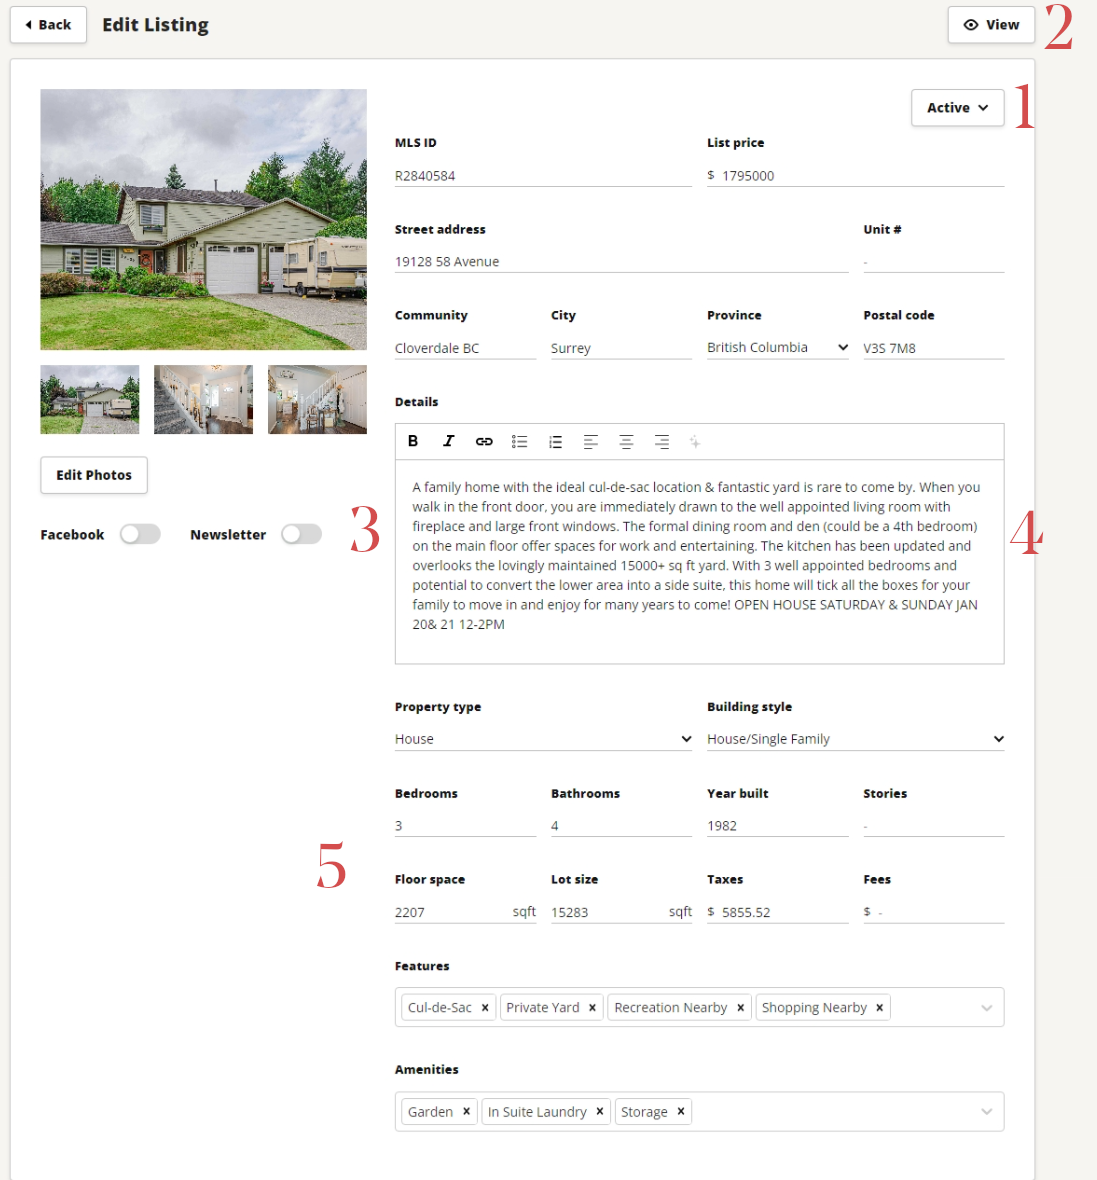
How to edit your listing details
Click anywhere on your listing from the overview page to view the listing details.
From here you can edit your listings status, open houses, virtual tours, floor plans, brochures, and even add a custom banner for your listing!
At the top of the listing details page you can change the status of your listing (1), view the listing on your website (2), toggle whether you want your listing to be posted to Facebook and in your upcoming newsletter (3), change the listing description (4) and its details (5)!
Open Houses
Use the Open Houses section to add or edit the date and times of your open houses
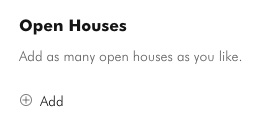
Select + Add to start adding your open house times
From here you can select your open house date, start time and end time. Don’t forget to select AM or PM for your start and end time 😊
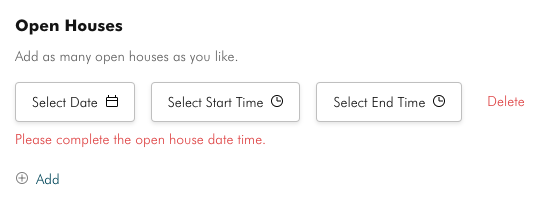
Once you are done select Save Listing at the bottom of the page to update the listing on your website.
You can delete an open house by pressing 'Delete' on the right hand side of each open house time. Don’t forget to save your listing after deleting!
Add a Virtual Tour
Under the Virtual Tours section, click the + Add sign to add in your virtual tour link to your listing!
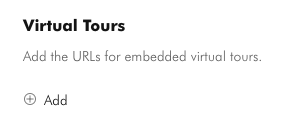
Our listing pages will automatically embed videos from Youtube, Vimeo and Matterport tours 🎉
Once you are done adding your virtual tour(s), click Save Listing at the bottom of the page
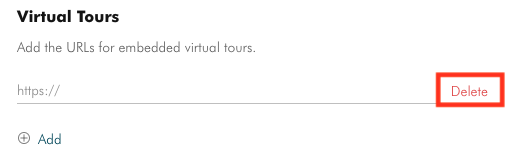
You can delete a virtual tour by pressing delete on the right hand side of your virtual tour and saving the listing.
Floor Plans
Upload your floor plans by pressing the ‘upload attachments ⬆ ’ button under the floor plans section.
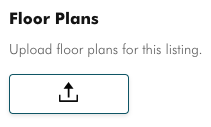
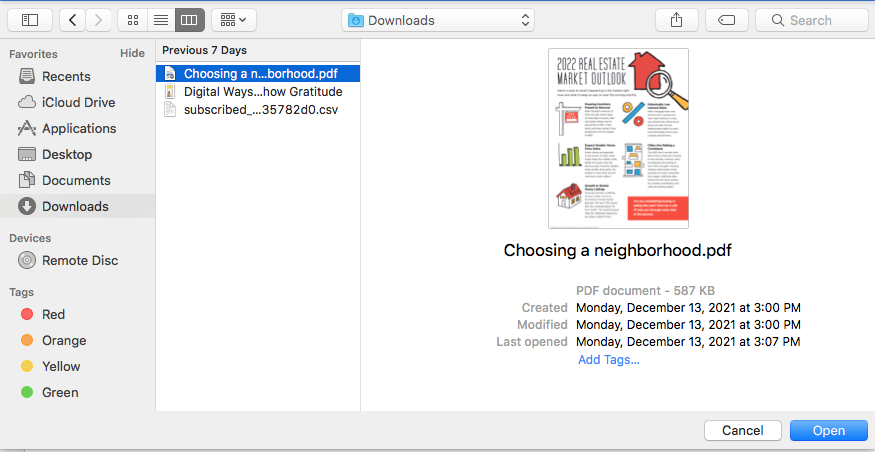
Select the file from your device that you wish to upload and press open. Once you have attached all floor plan files press Save Listing at the bottom of the page.
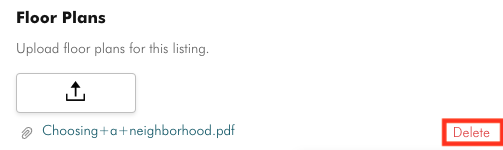
To delete a floor plan, hover over the attachment you would like to remove and press delete on the right hand side. You will be asked to confirm if you would like to remove the floor plan, press delete to confirm, then press Save Listing at the bottom of the page.
Adding a brochure
Upload your brochures and additional attachments by pressing the ‘upload attachments ⬆ ’ button under the Brochures section.
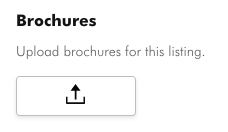
Select the file from your device that you wish to upload and press open. Once you have attached all brochure files press save listing at the bottom of the page.
To delete a Brochure, hover over the attachment you would like to remove and press delete on the right hand side. You will be asked to confirm if you would like to remove the brochure, press delete to confirm and then press Save Listing at the bottom of the page.
Editing your listing banner
Use the Listing Banner section to add a custom banner to your listing!
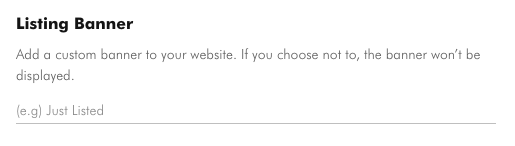
Simply type the banner you would like to appear on the listing and press Save Listing at the bottom of the page.
Hot Tip 🔥 Keep your banners short and catchy!
Sold Listing Banner
Once you have marked your listing as 'sold', click into the listing to add a custom sold banner and/or a custom caption for your sold listing Facebook post.
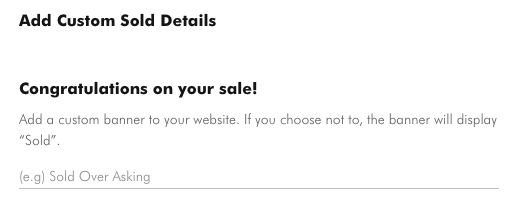
You can add in your custom sold banner for the website under the ‘congrats on your sale’ section. Keep your banners short and catchy and be sure to follow your board's regulations on sold listings! Many boards do not allow for the sale price of a listing to be advertised.
Common banners are ‘Sold over asking!’ and ‘Represented the buyer’.
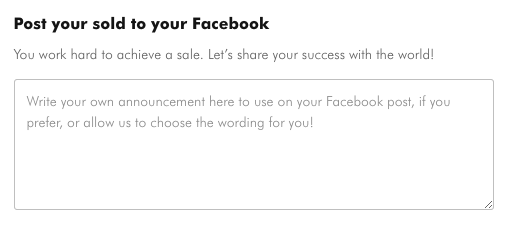
Custom Facebook Caption
Use the 'Post your sold to your Facebook' section to type out or paste in your custom caption for your sold post Facebook!
Don’t have a caption? No problem! Leave this section blank to let our client marketing team know you would rather have them write something up 😊
Once you are done adding in your banner and/or caption press Save Listing at the bottom of the page to submit your changes.
Hot Tip 🔥 If you no longer wish to showcase a sold listing on your website, you can remove it from your past sales by simply toggling the listing to cancelled or expired!
Adding Listings
All residential listings attached to your realtor ID should pull through to our system within roughly 24 hours of being added to the MLS. If you have reciprocity (buyers) listings you would like to showcase on your website, you can do so through the Add a Listing button in the Listings Manager!
To add a reciprocity listing toggle the New Listing dropdown menu in the top right hand corner of the Listings Manager, then hit Import by ID.
From here enter the MLS ID number of the listing you would like to showcase on your website. Listings must be residential listings from your board! For commercial, lease, rental or off market listings please create a custom listing.
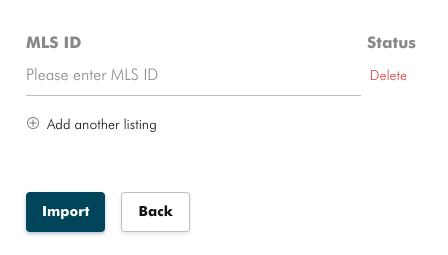
You can add multiple listings by pressing +Add another listing underneath the MLS ID line.
After you have added all of your reciprocity MLS ID numbers press Import.
Once imported you can toggle the status of each listing to their appropriate status.

If your active residential listing does not pull through and it has been more than 24 hours on the MLS please reach out to us via live chat and let our team know!
**Please note VOW listings cannot be pulled through our system or showcased on our websites.
Listings Settings
Want to adjust how listings are displayed on your site?
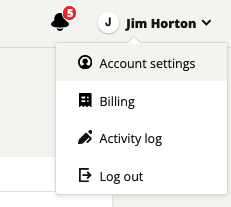
Using the drop-down menu, click on Account Settings in the top right corner of your account.
From the Account Settings Page, click on Listings in the bottom right section.
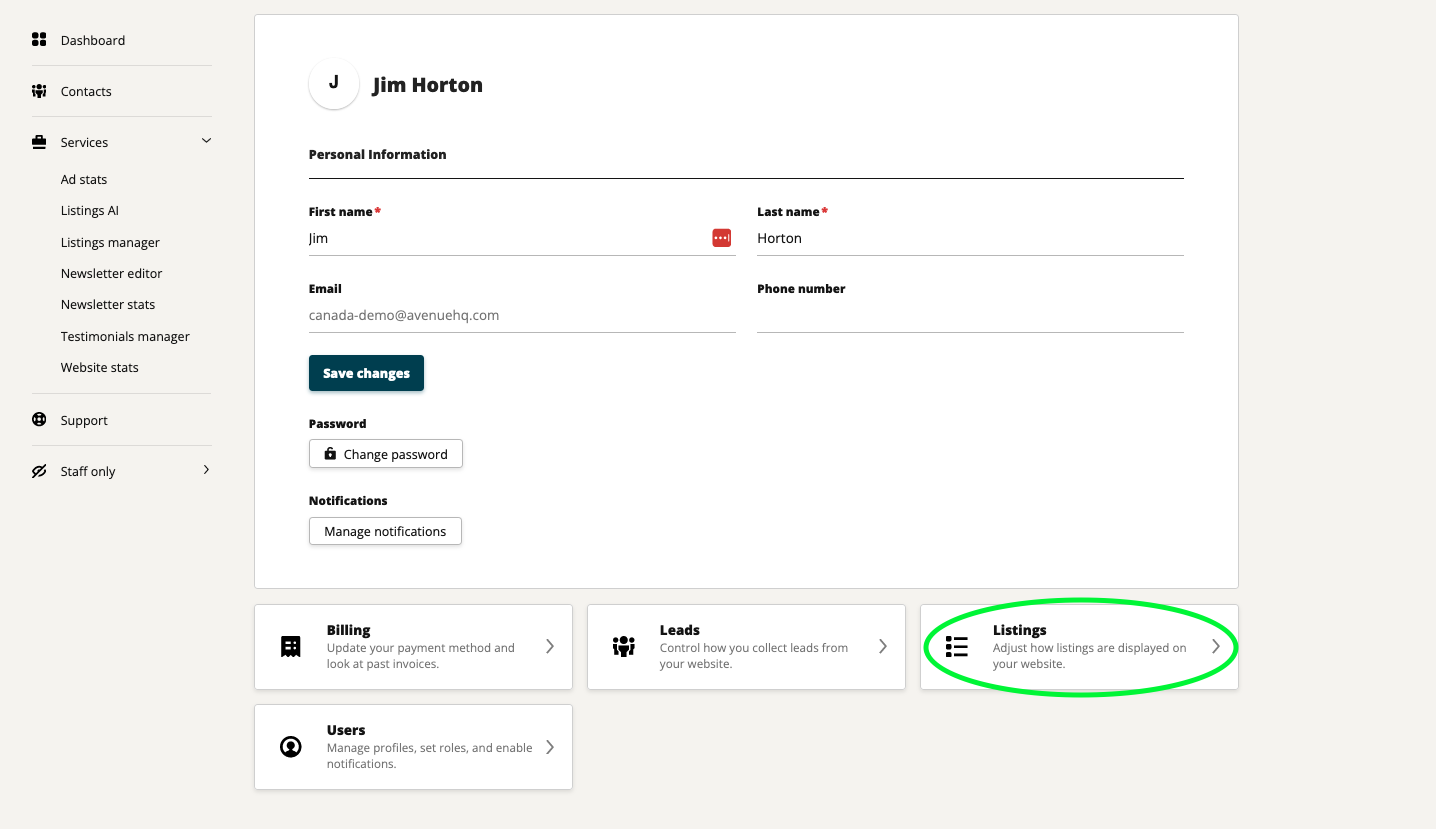
Here, you can adjust settings such as the sort order of your listings, which community data you want displayed, and how folks can share your listings.
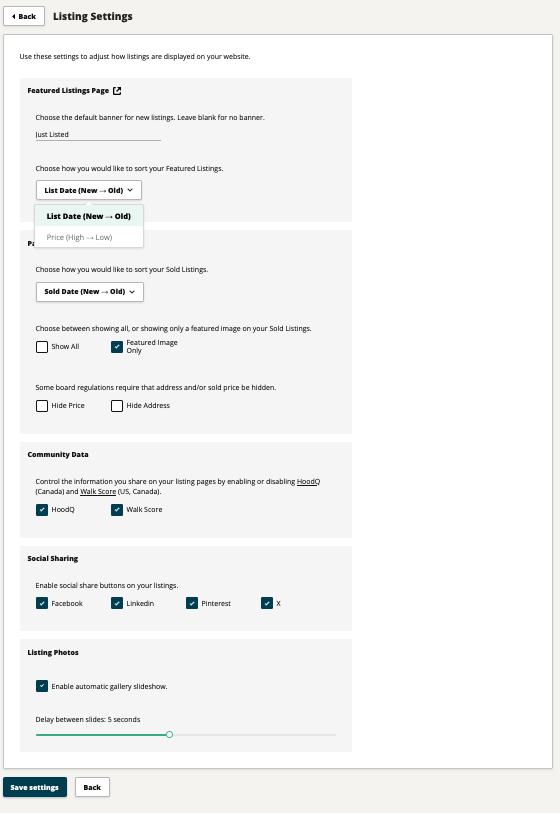
Be sure to save your new preferred settings!
When making edits to an IDX or DDF listing in the listings manager, certain details such as price may be overwritten when the feed refreshes if they do not match the information in the feed. It is best to continue to make these edits through the MLS and they should pull through to your website automatically within 24 hours. The listings manager tool is great for adding custom additional content such as extra photos, tours, or custom banners. Have questions? Reach out to us at help@avenuehq.com, we're here to help!